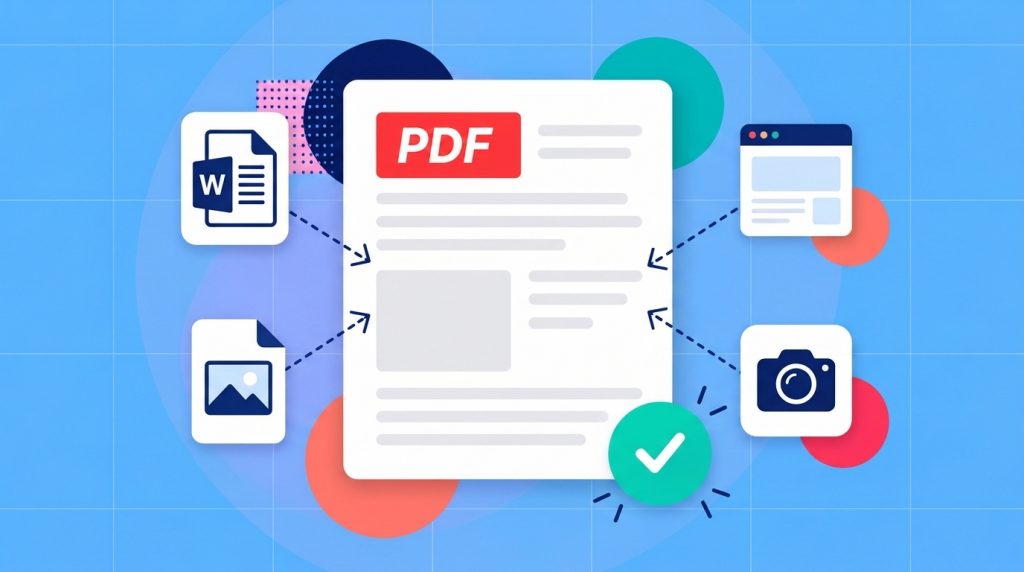
If you want to build or create a PDF, start with the material you already have. You can use and export an Office document for example, convert an image, scan a copy of a paper document, save a web page or write something new and export it.
Being asked to “send it as a PDF” is common but can sometimes leave you wondering where to start. If you already have a supported file, a PDF converter such as Soda PDF’s can turn whatever document you have into a PDF quickly. When using an office application like Word, Excel or PowerPoint etc.. the app’s built-in PDF export may be the quickest option.
The right approach to use here will often depend on what document or workflow you’re beginning with. For instance a photo taken of a receipt would need a different approach from, say, a spreadsheet. Similarly, saving an HTML web page involves an altogether different process. You can choose the section below that matches what kind of document you want to convert to a PDF.
Choose a PDF route for your starting file
Check what you kind of file you actually have and then choose the appropriate tool or software. An existing document can often be exported or converted, a paper sheet needs to be scanned, and of course unwritten content needs to be created in a word / text editor first. Each method produces a PDF, but the steps are different.
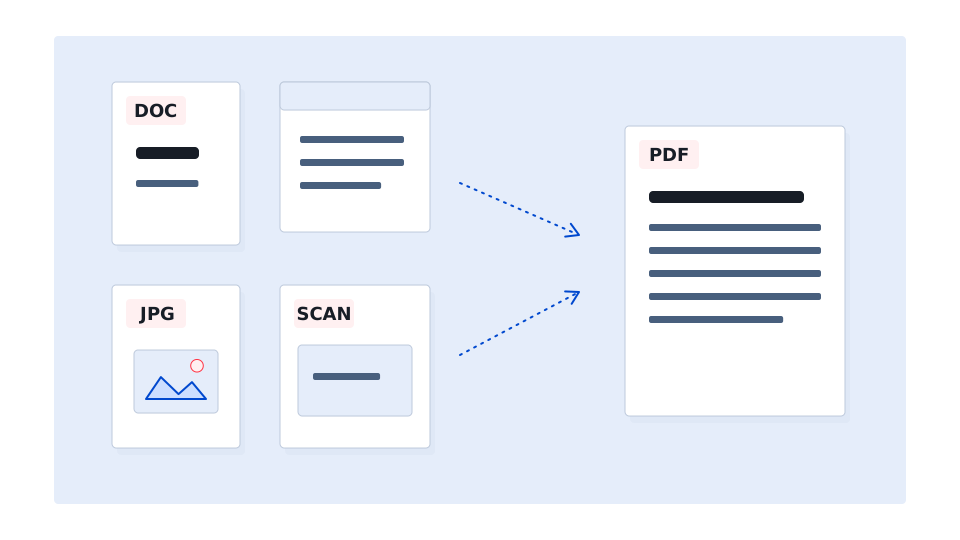
- An Office file: finish the document and use its PDF export or a supported file converter.
- A photo or paper sheet: convert the image or scan the paper into a PDF.
- A web page: capture the printable page or use a URL-based converter for an accessible page.
- Text you haven’t written yet: create a document, arrange its content and export the finished pages.
Make a PDF from an Office file
You can start with a built in PDF export option if your document is already open in an Office desktop app. Specifically: in Word you can use Save As and choose PDF as the file type. The menu names and steps will vary between different Office apps and platforms, so look for the PDF save or export option in the app you’re using. [1]
- Finish the source document and save your editable original.
- In Word for Windows, choose File > Save As and select a destination.
- Choose PDF in the file-type list. Review any page-range or output options you need.
- Save the PDF, then open it to check page breaks and the content you intended to include.
If you’re converting a supported file in SodaPDF Desktop instead, you just need to choose Create & Convert > File to PDF, browse to the source file and open it. SodaPDF makes it surprisingly straight forward. After that you just need to review the created PDF and save it. [4]
Keeping fonts and links intact
After exporting it’s usually worth taking the time to check that all the headings, special characters and line breaks in the document look as expected. Also important: if you are using custom fonts, embedding them in the Office document can help preserve its appearance when the source file is opened on another computer. Whether a font can be embedded depends on its licensing and your settings, so you should still check the finished PDF. [2]
You’ll also want to click any links the recipient will need to use to make sure they still open the page they are intended to link to. If you’re exporting a spreadsheet from Excel, check the print area and scaling first so the PDF includes the right cells at a readable size. Fitting all columns to one page width can help, but forcing a large spreadsheet onto a single page can make the numbers difficult to read. [3]
Make a PDF from photos or scans
You can use an image to PDF tool when you already have a JPG or PNG (as long as it supports the specific image format) by uploading the image, converting it and then downloading the PDF. Open it to check that the page is the right way up and any small print is readable. Converting an image to PDF doesn’t, by itself, make the text searchable; that requires optical character recognition, or OCR. [9] [10]
If the original is on paper a scanning app can make it easier to capture a clear page than, say, a regular camera photo. Scan the whole sheet, straighten it and adjust the page boundaries so no text is cut off. If a shadow covers an account number or another important detail, take the scan again before saving.
Putting several photos in one PDF
First, decide whether you need one PDF containing all the images or a separate PDF for each one. Some image-to-PDF tools convert only one image at a time but if yours produces separate PDFs you can always combine them afterward.
For paper originals you can also create a multipage scan on your phone by scanning the first sheet and adding the remaining sheets to the same document (check the page count before saving). If you’ve already taken separate photos that’s fine as you can always use an image-to-PDF tool that supports multiple images or convert and combine them.
Save a web page as PDF
If you’re using Windows and have the Soda PDF virtual printer installed, open the web page in your browser. Press Ctrl+P, choose the Soda PDF printer and select Print. Then choose a filename and a location for the PDF. [5]
Open the saved PDF and check for things like clipped columns and missing images. We recommend doing this because websites often a different layout for printing so the PDF may not look exactly like the page in your browser. Make sure it includes the information you need – especially if more content appears as you scroll.
Another option is a URL converter, which creates a PDF from the web address you enter. It may not be able to access a private account page, even if you’re signed in through your browser. For pages behind a login, use the print or export option available while you’re viewing the page.
Create a document from a blank page
If you’re starting with unwritten text, create a new document in your word processor. Write the content, set its page size and arrange any images before exporting to PDF. In Word for Windows, use the PDF Save As steps above once the document is ready.
For a one-page notice, check that the final line fits on the intended page. Fix the original document and export again if it doesn’t. Keep that source file so a later date or wording change doesn’t require rebuilding the notice inside the PDF.
Make a PDF on your phone
The same starting-point choices apply on a phone. Use an image-export route for an existing picture and a scanning route for paper. The exact controls depend on your device and app.
On an iPhone or iPad
To scan paper in Files on a supported iPhone or iPad, tap More > Scan Documents. Capture each sheet, adjust the corners if needed, and add remaining pages. Tap Done, choose a location and tap Save. [6]
On an iPhone with the Preview app described in Apple’s current guide, open an existing image in Preview. Tap the actions button beside its filename, choose Export and select PDF. Tap Done, choose a location and save. This Preview route depends on app availability; it isn’t a universal sequence for older iPhones. [7]
On Android, Google Drive’s scanning control can capture paper, add pages and save a searchable PDF. Check the crop and choose PDF before saving. [8] Whichever route you use, reopen the saved PDF from its destination so you know which file to attach.
Sources
- Microsoft — Save or convert to PDF or XPS in Office desktop apps
- Microsoft — Benefits of embedding custom fonts
- Microsoft — Scale a worksheet
- How to convert any file to PDF – Soda PDF
- How to convert from HTML to PDF – Soda PDF
- Apple — Scan documents on iPhone or iPad
- Apple — Export or compress PDFs and images in Preview on iPhone
- Google — Scan documents with Drive on Android
- Soda PDF — JPG to PDF
- Soda PDF — PNG to PDF