PDF Editor
Edit PDF files with our online PDF editor.
-
From Google Drive
-
From Dropbox
or drop files here
How can I edit a PDF file for free*?
1 Select your PDF document
Select a PDF for editing by uploading the document from your computer, or through a cloud storage service such as Google Drive or Dropbox or simply drag-and-drop the PDF file into the box to upload.
2 Open Soda PDF
When you upload your PDF files online, the upload will automatically open the Soda PDF application in your web browser. Discover our software & easy-to-use features to help you edit PDF documents!
3 Edit PDF online
Simply create a Soda PDF account online to access your free* trial. Add text, images and edit PDFs to your needs. Try our desktop app or our other online tools like convert PDF files, secure PDF documents and more!
Did you know?
You can edit on PDF without Adobe Acrobat
Some people still think that text in PDF files can’t be edited. Soda PDF Editor will prove to you that PDF documents can be customized. Edit PDF documents your way with many editing options. Try our PDF editor now!
Learn more about PDF Editor
Edit pages
Change the order of your pages, remove pages, or add new ones. Format page layout, margins, background, and page size. Edit PDF files to your needs.
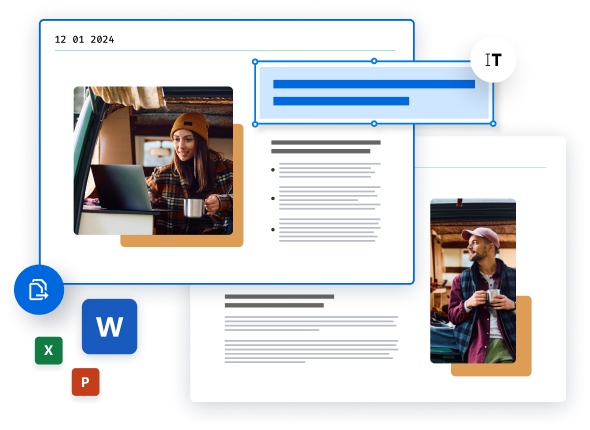
Edit content
Add text anywhere in your PDF and select your desired font style from a long list of choices. You can also choose the font attribute for text (i.e., bold, italic, underline, etc.), as well as adjust the font size. Add or create images for visual appeal, then use the Ruler and Grid tools to align and adjust objects.
Manipulate document
Manipulate and share your document with the world! Use the Compress tool to reduce the size of your document & make electronic distribution easier. To compress your document, simply choose “Reduce File Size” from the File menu.
Blog Articles to learn how to edit PDFs
How to edit PDFs
How To edit PDFs without Adobe Acrobat
Are you looking to edit PDF documents but want to avoid using Adobe Acrobat? Are you or your business in need of a simple yet efficient Adobe Acrobat replacement? If so, we humbly suggest trying the most popular Adobe Acrobat PDF software...
How to edit PDFs
Edit PDF files with a free online PDF editor
As the new school year kicks off, students and professionals alike are diving into a sea of assignments, presentations, and reports. Editing PDFs has become a vital skill in both academic and professional settings. For students, it means...
How to edit PDFs
How to edit text in a PDF document
Seeing how to edit text in PDF documents will unlock the full potential of this versatile format. Traditionally PDFs are used to share information, with each page containing plenty of content. Every now and again those pages...
FAQ
How can I edit text in a PDF?
To edit text in a PDF using Soda PDF, simply open your document in the online editor. From there, you can add, alter, or format text with a variety of tools available on the platform.
What tools are available to edit a PDF online?
Our online PDF editing tool allows you to add and edit text, images, drawings, shapes, fill forms, and more!
Which software is considered the best choice for editing PDFs?
The best softwares for editing PDFs allows you to create, alter, convert, and distribute PDFs efficiently. Unlike static images of documents, the best PDF editors enable interactive document editing. Soda PDF stands out as a robust tool for comprehensive PDF editing and management.
*Size and daily usage limitations: file of 3 Mb or less/2 files per day.
